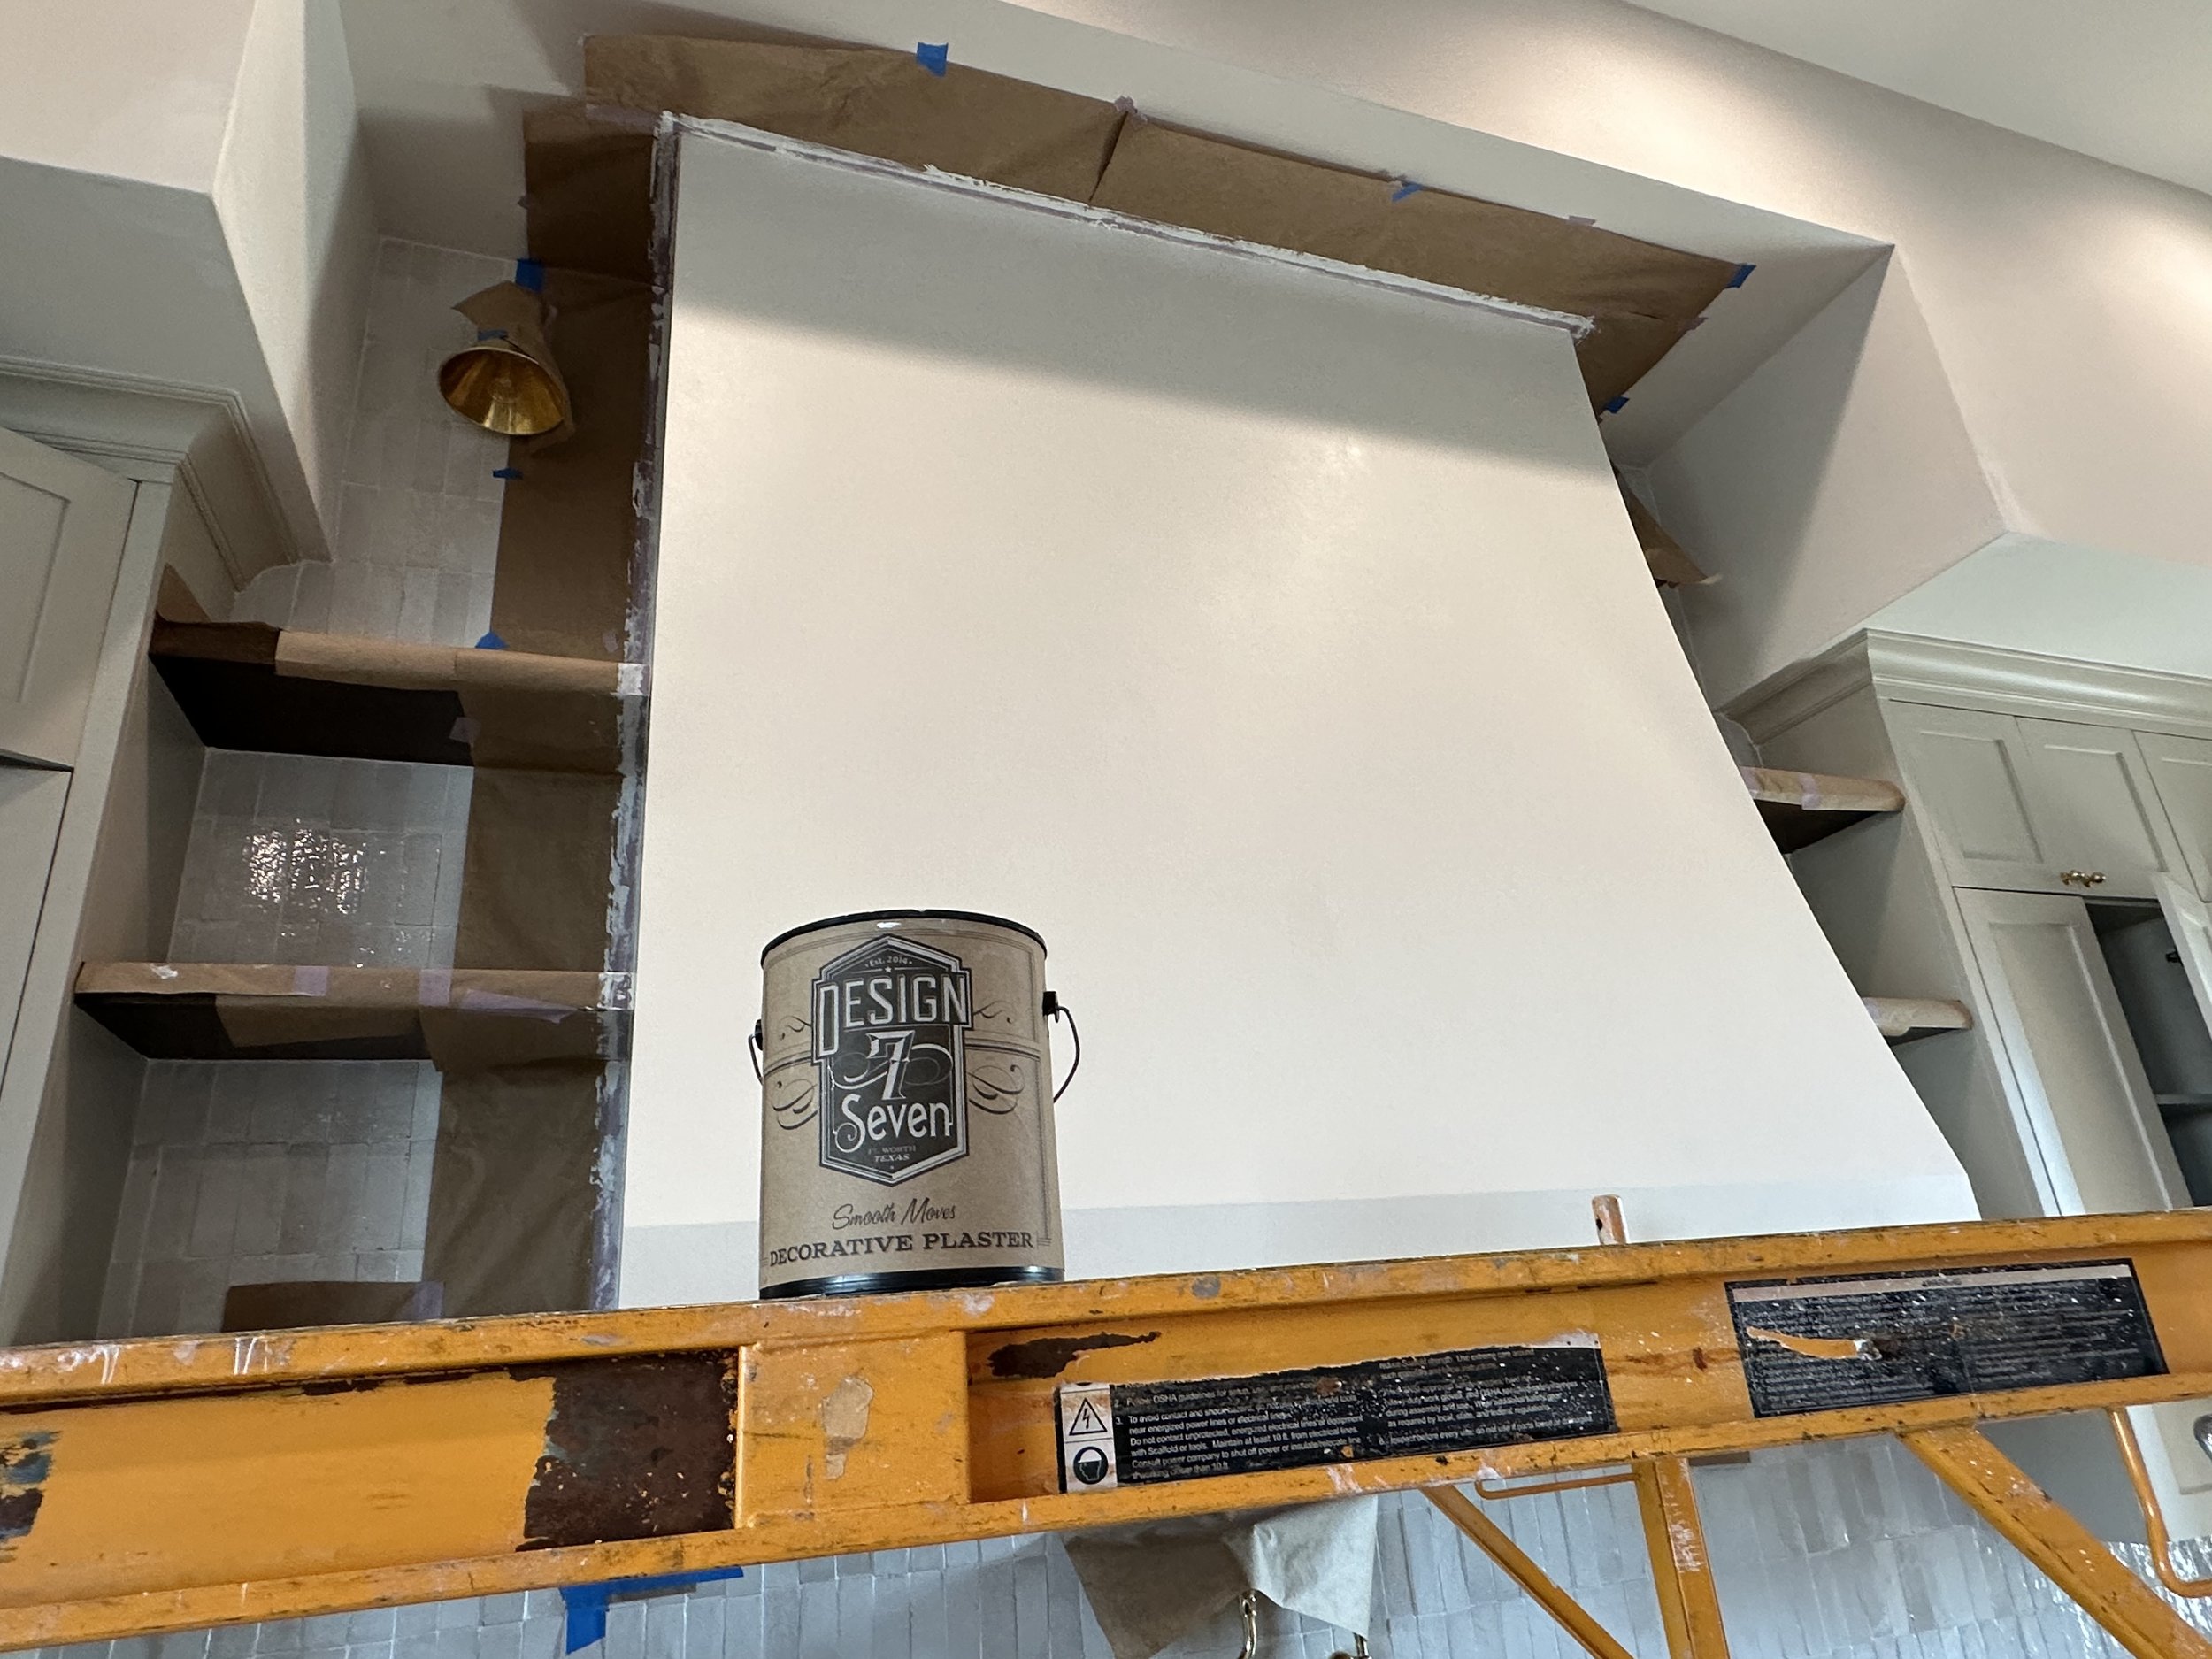

Creating a Gold, Metallic Glaze
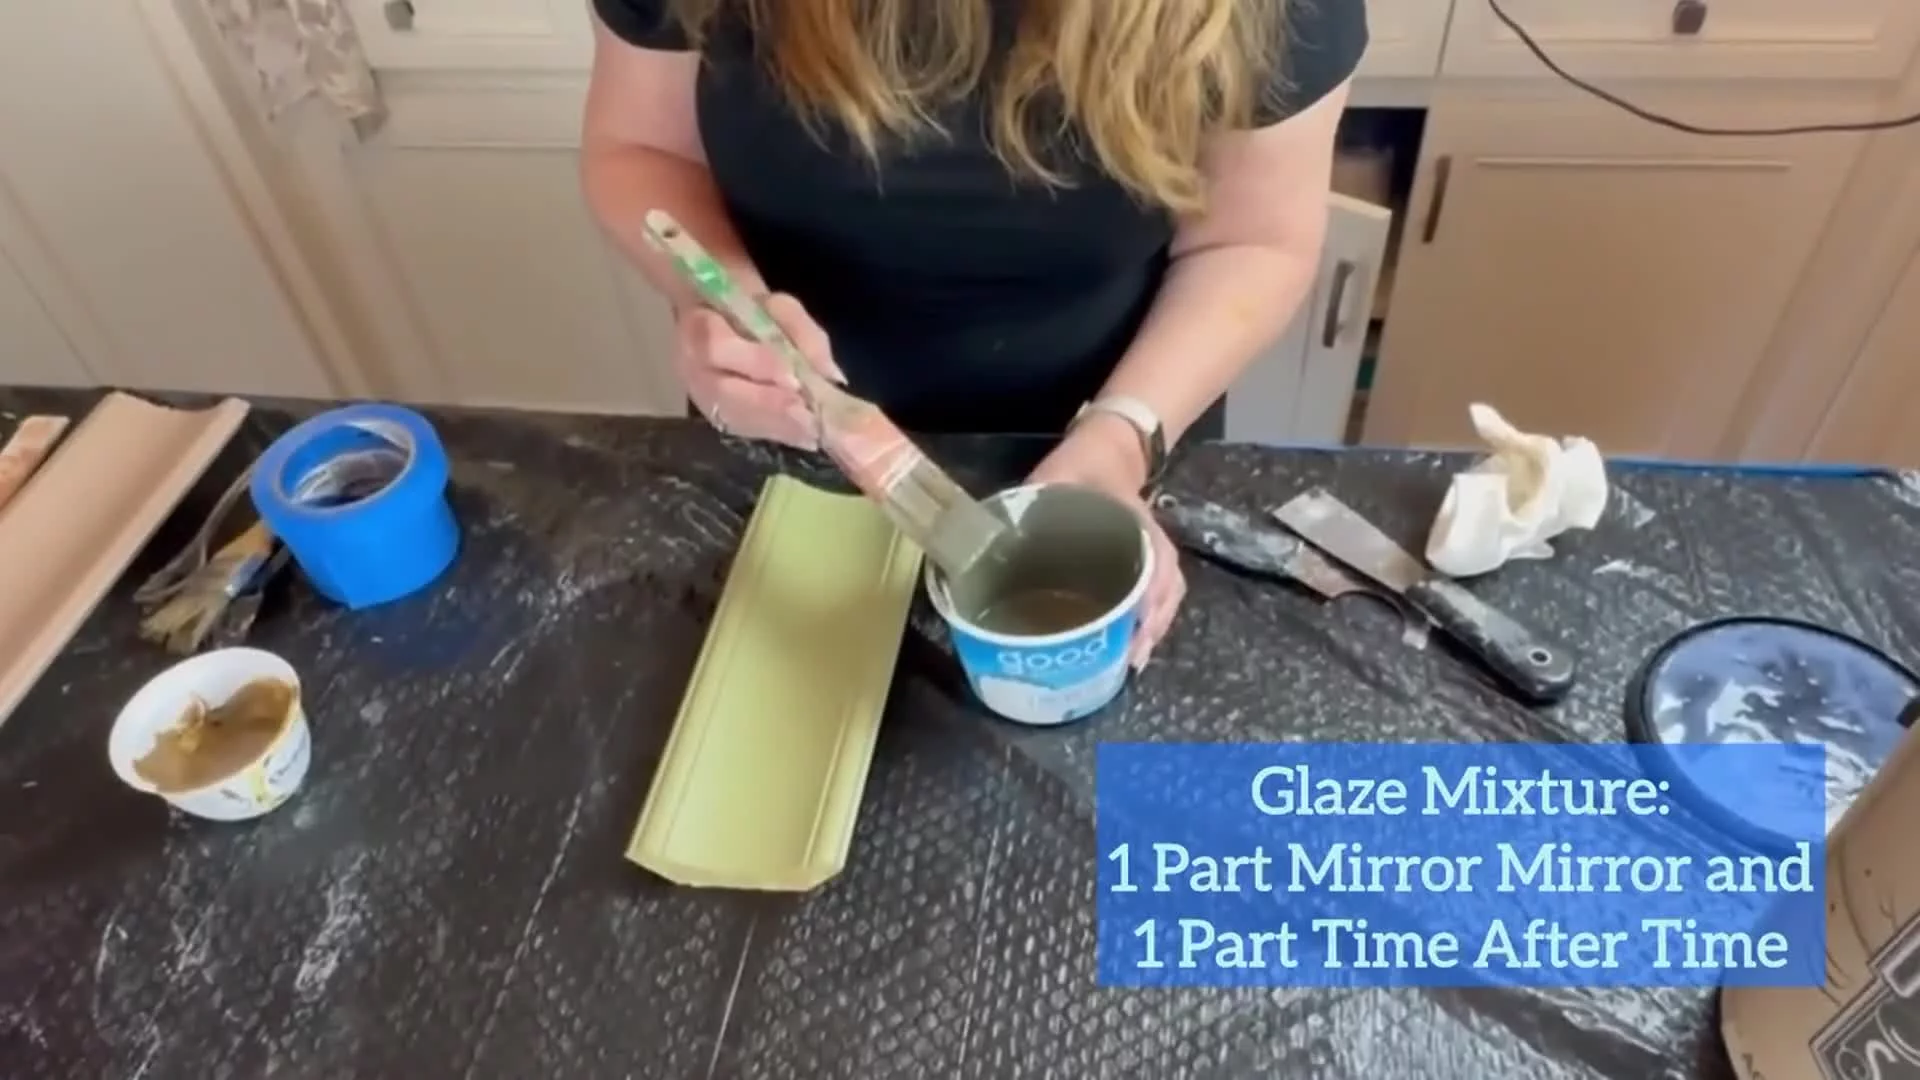
• Create Mixture A: Create a gold, metallic glaze using 50% Time After Time and 50% Mirror Mirror.
• Add desired colorant. For this mixture, I used a 4:1 ratio. 4 parts of Mixture A and 1 part colorant. For this demo, I used a Tobacco Brown colorant.
• This metallic glaze can be used on a variety of projects and surfaces.
• The possibilities are endless.
Riverway
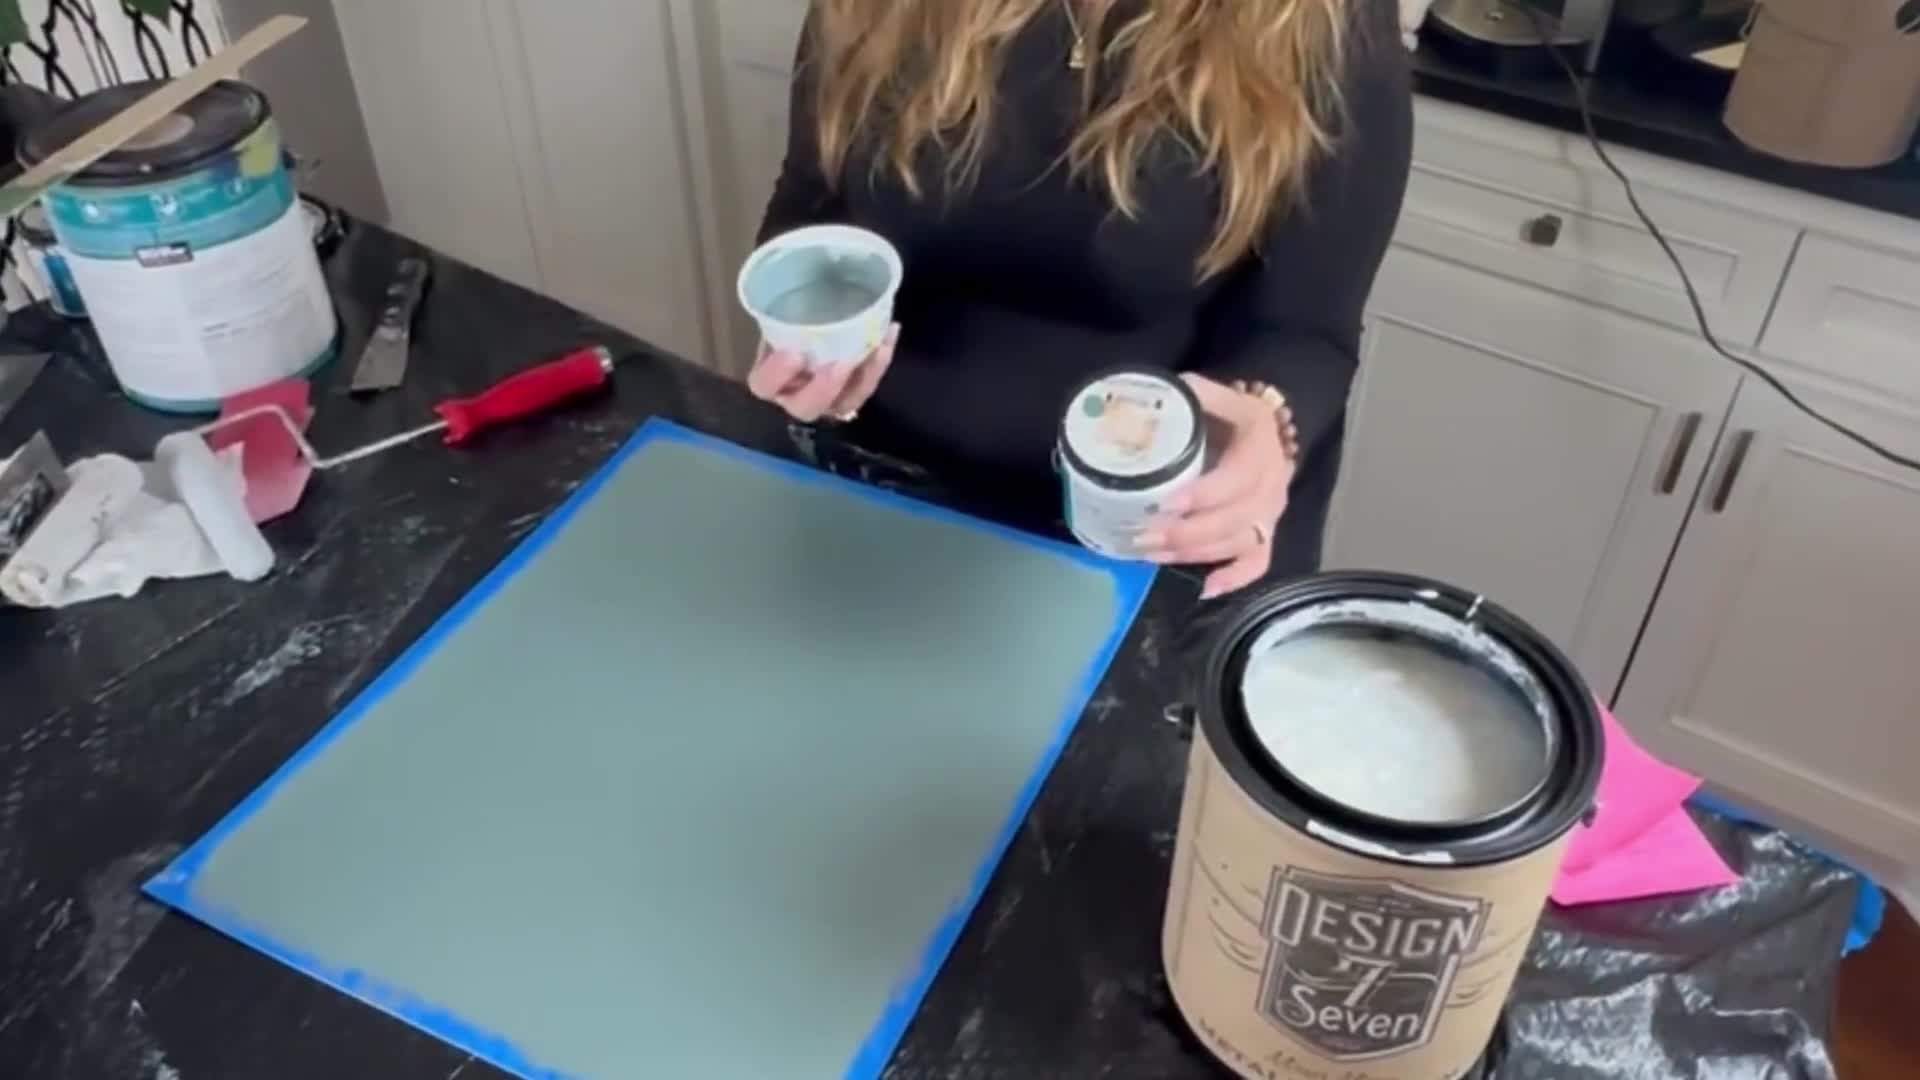
Base paint surface with Behr 3703 River Way. Let dry.
Create a metallic paint using 4 parts Mirror Mirror to 1 part Riverway latex paint.
Apply with roller.
Apply mixture to 100% of surface with a metallic roller nap.
This is a semi-opaque coverage. Apply additional layers as needed. Allow to dry between layers.
Tips for working with all metallic paint product:
Roll from top to bottom on the last pass, to minimize flashing created from mica particles.
If covering large surfaces, apply 10% of Time After Time acrylic glaze to mixture. Adding Time After Time will decrease laplines for any latex or acrylic metallic paint.
I like to add 10% of Time After Time acrylic glaze to increase the fluidity of my metallic paint.
For a different visual effect, use 4’ soft bristle brushes to Crosshatch surface across entire surface to minimize inconsistencies. This will create a different visual effect.
Let dry between layers.
Metallic Glaze on Cabinetry
When you first get your glaze give it a good stir.
This demo will show you how to make a single color glaze that you can use on cabinetry, trim work or furniture.
Start by creating a 50/50 ratio with half Time After Time, and half Mirror Mirror. Now add one part colorant, creating a 3 to 1 ratio. You can use latex paint or an acrylic colorant.
For this demo I used a coffee colorant.
If needed, to increase the color saturation, add more colorant as needed.
Just remember if you are recreating this formula, write down your measurements.
Now, brush your glaze formula onto your surface area and simply wipe off with a soft cloth.
This will give an antique look to the smooth surfaces and remain accumulated in the grooves. Let dry.
I always put a protective sealant on top of my furniture trim work and cabinetry. Let dry.